


One of the most common requests we get is to have a root password reset after a user forgets it.
Worry not! This is not a hard process. If you know how to SSH to your server, you should be able to do this yourself with the help of this guide.
Step 1: Boot Server Into Rescue Mode
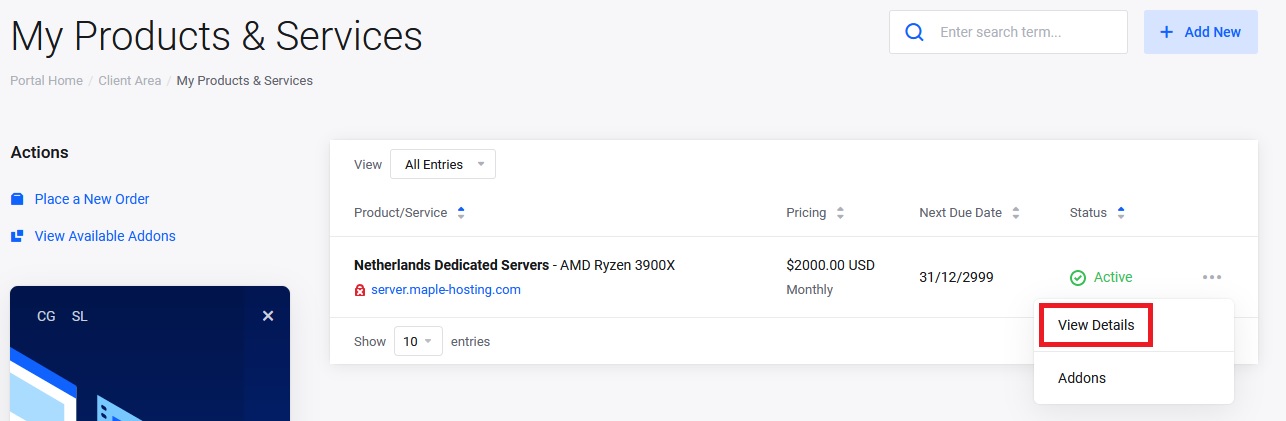
Click here to view all of your servers.
Then, click on the menu icon and then click View Details:
Scroll down to the "Server Management" section and click on Reinstall.
Then, leave the hostname unchanged, select "#Rescue Mode" from the Operating System dropdown, and fill in a root password that you will not forget (you will need it in order to log into your server once it boots up into rescue mode). Leave the optional fields blank.
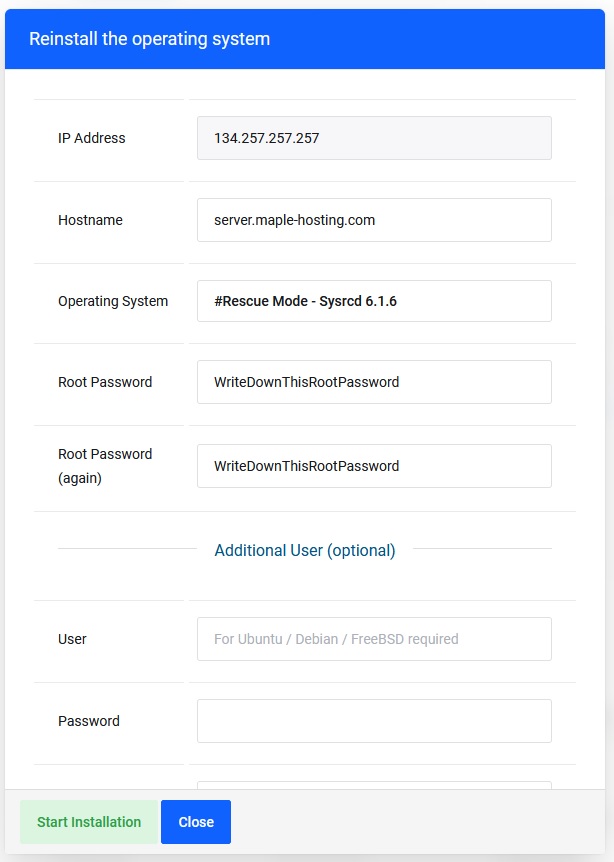
Important: Booting into rescue mode does not cause data loss.
Click "Start Installation".
Your server will be rebooted and should be accessible over SSH within 5 to 10 minutes.
Once your server is back online, SSH into the server using user root and the password you've set up above (in our screenshot, this was WriteDownThisRootPassword).
Step 2: Locate the Root Disk
One disk on your server includes the root partition ("/"). We need to locate this disk so that we can mount it.
To achieve this, run the following command:
fdisk -l
Locate the part of the output that looks like a table showing the different disks:

You'll notice the Size and Type columns. The root disk will normally be the biggest disk that has Type "Linux".
If your disks use LVM, the Type will show up as "Linux LVM" in which case follow the specific instructions below for LVM.
So based on the above screenshot, in this example, our root disk is /dev/nvme0n1p5
Different servers will show different output. Here are a few tips to help you locate the root disk:
- You can also use the following command to help you locate the root disk:
lsblk -f
This command will show the disks with their mount points. The disk with mount point "/" is the root disk, so if you see that it is "sda" for example, the actual root disk path is "/dev/sda" - The root disk will most often be /dev/sda, /dev/nvme0n1 (if installed on NVMe) or /dev/md0 (if using a software RAID)
- If disk type is Linux LVM - scroll down (after running the above fdisk command) to locate your disk path for LVM. It will often look like this:
Disk /dev/mapper/vg-root: 2991.9 GB, 2991864152064 bytes, 5843484672 sectors
If this is your output, use /dev/mapper/vg-root as your root disk path for the following steps.
Step 3: Mount the Root Disk
Once we find our root disk, we'll run the following commands:
First, let's create a directory to mount the root disk on:
mkdir /disk
Then, we'll mount the disk. Replace [root-disk] with the root disk you found in step 2.
mount [root-disk] /disk
So in our example, we would run:
mount /dev/nvme0n1p5 /disk
And finally, use chroot:
chroot /disk /bin/bash
Step 4: Reset the Root Password
Our final step is to reset the root password.
You can do so by running this command:
passwd
You will then be prompted to input the root password twice. Keep in mind that whatever you type will not show up as to hide your root password from prying eyes.
Important: Make sure both passwords you input are secure and identical. Servers get hacked all the time. Do not use simple passwords as your root password.
Once your new password is set, exit chroot by using the command:
exit
And then reboot your server to exit Rescue Mode by running the command:
reboot
Login with Your New Root Password
Congratulations! Once your server boots back up, you'll be able to use the new password you've set in step 4 to log in as root.
If you encounter any issues or need further help - please do not hesitate to submit a ticket to our 24x7 General Support department.


